


Custom shirts, silly cozies and other creative whimsies!

Check out the new arrivals!

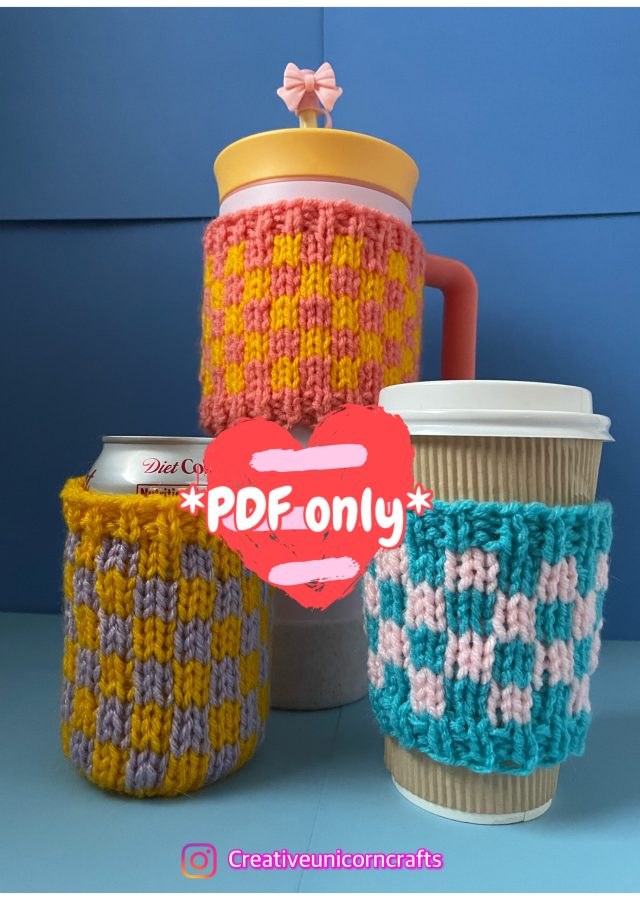
Spring 2025 EXCLUSIVE COLLECTION

$24.00 – $28.00

$24.00 – $27.00

$24.00 – $27.00
Check out the most popular items!
$24.00 – $26.50

$24.00 – $27.50

$24.00 – $27.00

$24.00 – $28.00

$30.00 – $105.00

$24.00 – $32.50

$24.00 – $27.00

$24.00 – $27.50
Recent blog posts for creative inspirations!

